Обзор сервиса Marsy
Каждый, кому доводилось заниматься версткой html страниц, знает, что работа с макетом дизайна занимает довольно большое время, и чем сложнее макет, тем больше.
Некоторое время назад, когда не было ни avocode, ни zeplin, приходилось всю нужную информация о слоях и о самом макете получать из программ, не предусматривающих легкую конвертацию данных в представление необходимое для верстальщика, в данном случае - это Photoshop.
Позже на арену вышли выше названные продукты и жизнь разработчиков стала налаживаться, но появилась такая проблема как монополия в этом сегменте (посмотрите стоимость avocode и вы поймете о чем я), но даже не это побудило меня создать сервис Marsy.
В какой-то момент я понял, что мне не хватает возможностей, которые дают имеющиеся инструменты, мне хотелось оптимизировать тут, добавить возможностей там, но ведь это невозможно, обычно у таких компаний есть четкий план, по которому они следуют.
А значит пришло время взять инициативу в свои руки. И вот уже довольно долгое время, а именно с 2017 года я занимаюсь развитием своего сервиса. Далее я расскажу о нем более подробно.
Сервис Marsy доступен абсолютно бесплатно, но если он вам нравится, вы всегда можете помочь мне материально на это странице.
Так же хочу сообщить, что каждый может предложить улучшение, и с большой вероятностью оно появится в Marsy.
Создание проекта и загрузка макетов
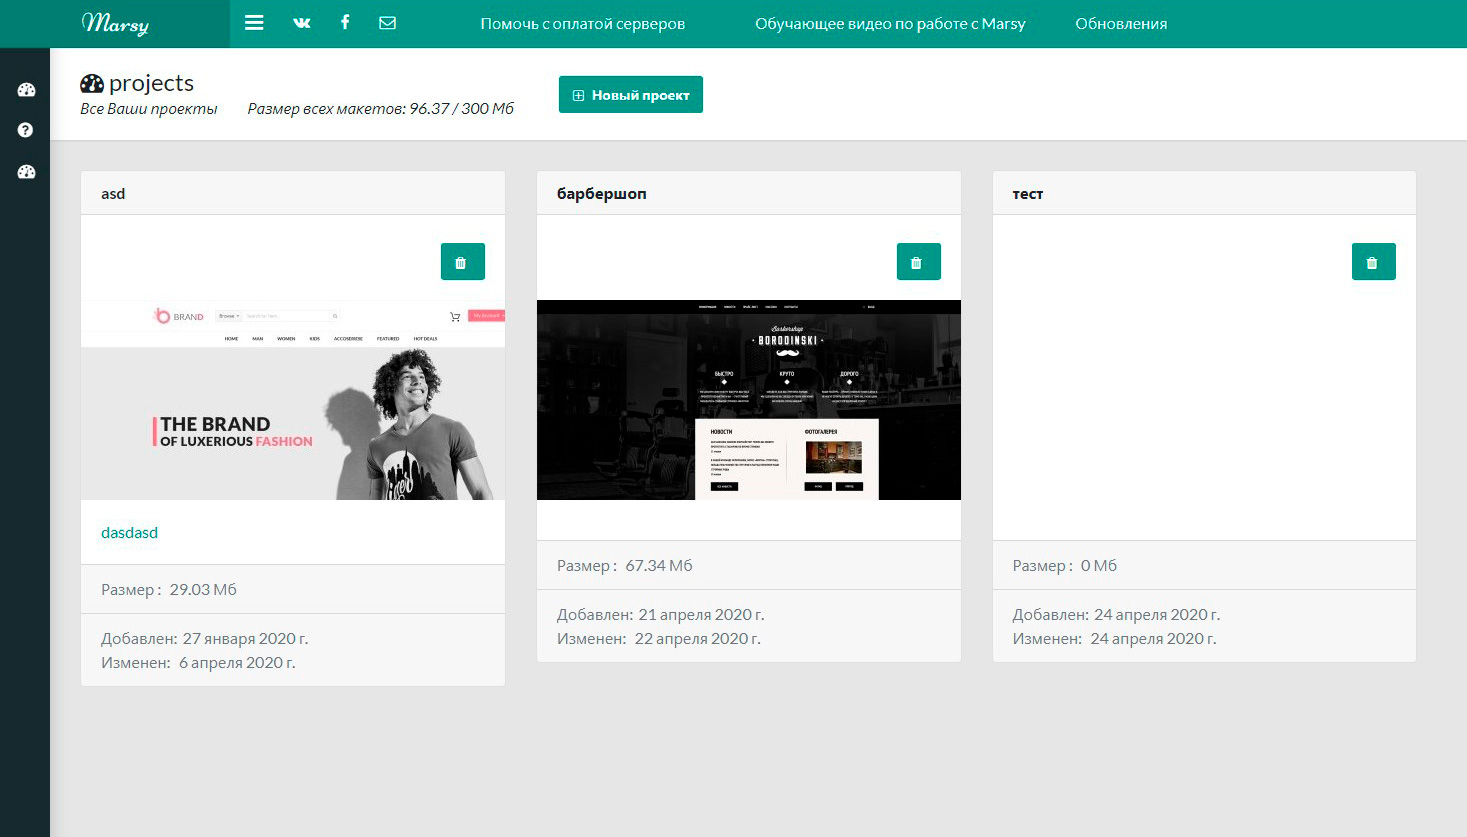
После простой регистрации мы попадаем на страницу со списком проектов, их может быть сколько угодно. Проект можно воспринимать как папку, в которой хранятся макеты.
На это странице можно создать новый проект или удалить существующий, важно отметить, что при удалении проекта удалятся все макеты из него, и восстановить их уже нельзя.
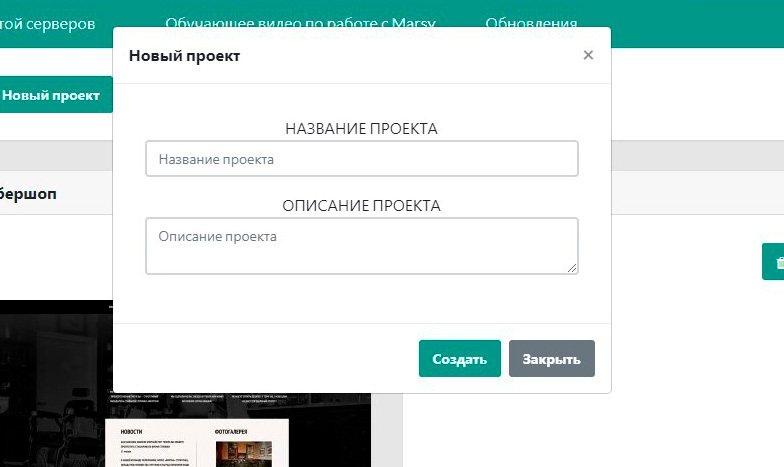
Форма создания проекта, здесь можно задать его название и описание
После создания проекта кликаем по элементу в списке и переходим в сам проект, хранилище макетов.
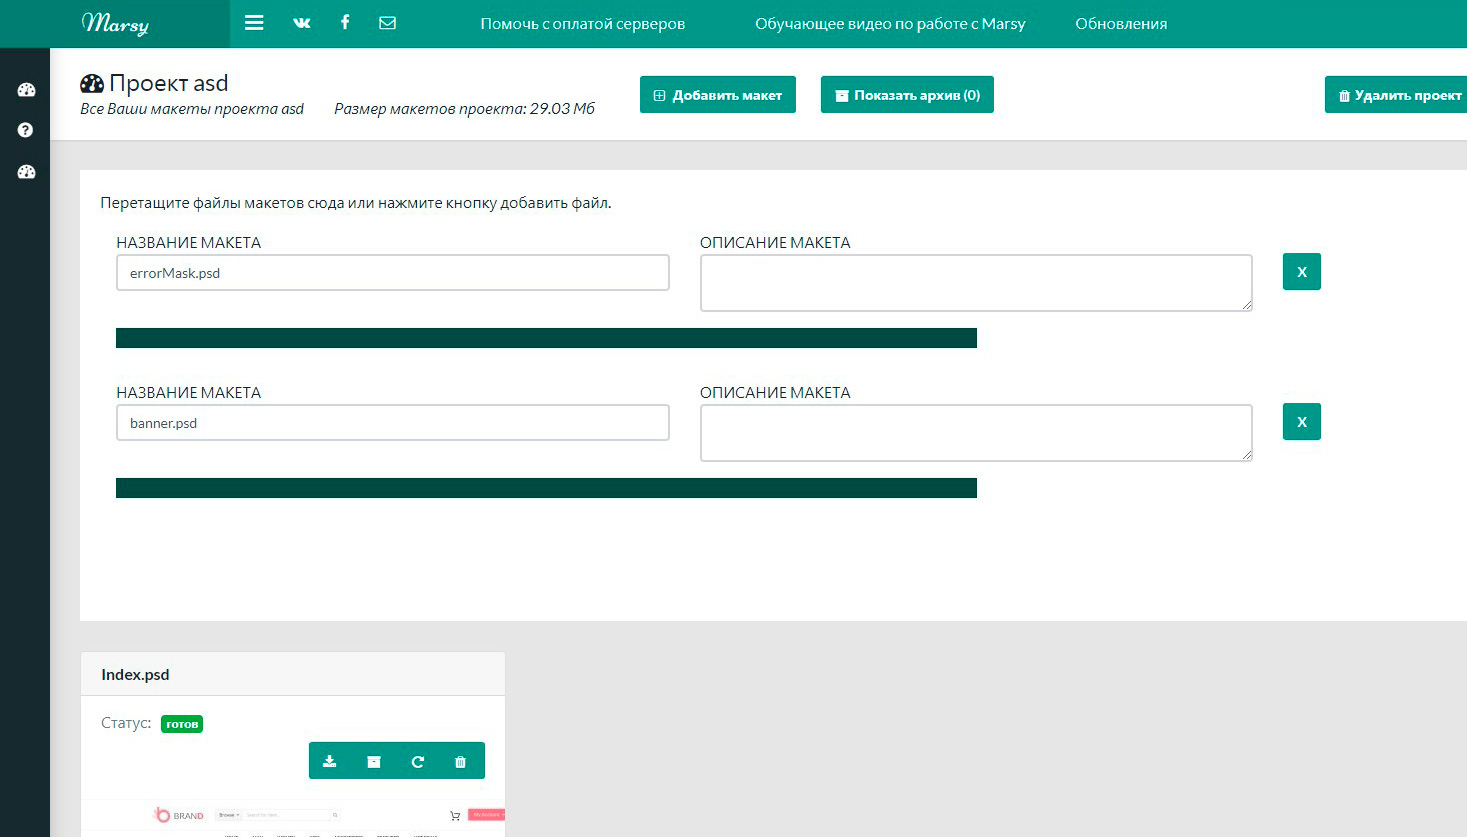
Для того чтобы загрузить новый макет, нужно кликнуть по кнопке "Добавить макет", после этого откроется форма для загрузки макетов.
Добавить макет для загрузки можно несколькими способами: перетащить макет на область формы или нажать кнопку "Добавить файл" и выбрать макет в инспекторе. Одновременно можно загружать несколько макетов.
Также в этой форме можно изменить название макета и добавить описание к нему.
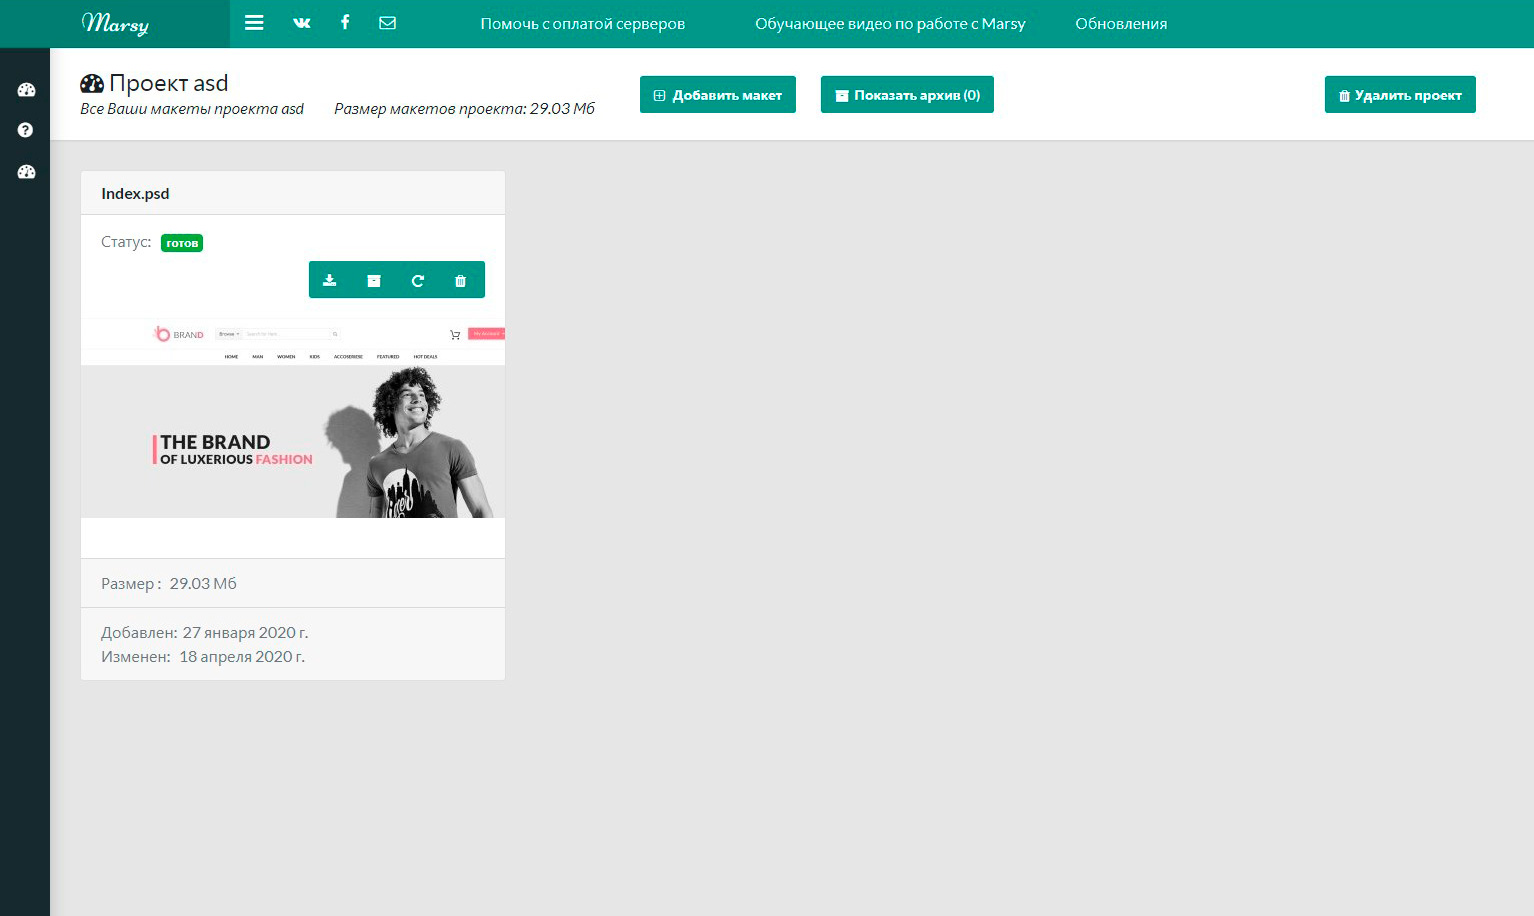
Для каждого макета доступны некоторые действия:
- Скачать макет - кликнув по этой кнопке можно скачать макет себе на компьютер
- Положить в архив - позволяет убрать макет в архив, при этом обработанная информация о нем будет удалена, а сам макет пропадет с этой страницы. Посмотреть макеты в архиве можно нажав на кнопку "Показать архив", число на ней указывает количество макетов в архиве. Макет из архива можно достать, но после этого его снова придется отправить на обработку, нажав на соответствующую кнопку.
- Обновить - при нажатии на нее макет будет снова отправлен на парсинг, используется при выходе нового обновления, в котором есть изменение работы с файлами.
- Удалить - удаляет макет, восстановить его после удаления невозможно.
Теперь можем перейти к самому "вкусному", к редактору.
Работа с редактором Marsy
Основная информация и контекстное меню
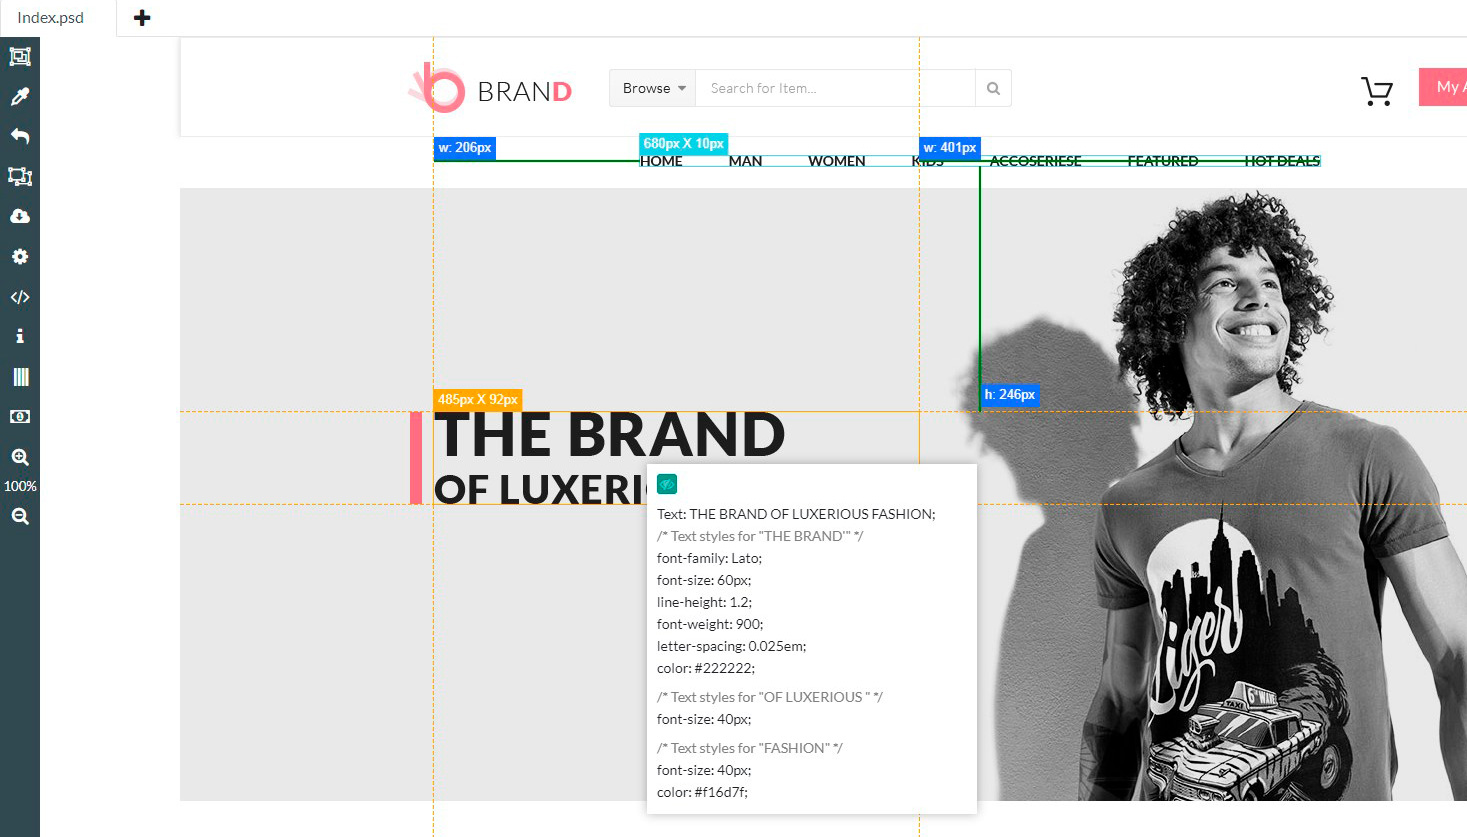
Первое, что можно тут сделать - это кликнуть мышкой по экрану, и если вы попадете в слой, то он станет активным. Около него будет отображаться размеры и появится плавающее окно со стилями этого слоя. Если же теперь зажать левый ctrl и навести на другой слой, то мы увидим расстояние между ними. Если вместо этого кликнуть правой кнопкой мыши, то появится контекстное меню слоя, в котором в зависимости от его типа могут быть следующие пункты:
- Копировать текст - копирует текст выделенных тестовых слоев
- Копировать стили - копирует стили выделенных слоев
- Скачать - открывает диалог для скачивания выделенных слоев
- Открыть смарт - открывает smart object связанный со слоем
Панель инструментов
Слева расположена панель инструментов, простые инструменты я объединю в один раздел, а о сложных расскажу подробнее.
- Выделение рамкой - позволяет выделить слои, захватив их рамкой, так же на ее сторонах написаны ее размеры, что можно использовать для измерений.
- Пипетка - с ее помощью можно скопировать цвет любого элемента, кликнув по нему.
- Назад - вкладка, в которой расположились кнопки возврата к проектам
- Направляющие - включает/выключает отображение направляющих из Photoshop
- Поддержать - сборная вкладка, на которой расположены ссылки на справочные материалы и страницу донатов
На этом с простыми инструментами закончим, и переходим к более сложным. Далее буду располагать их в том же порядке, что и на сайте.
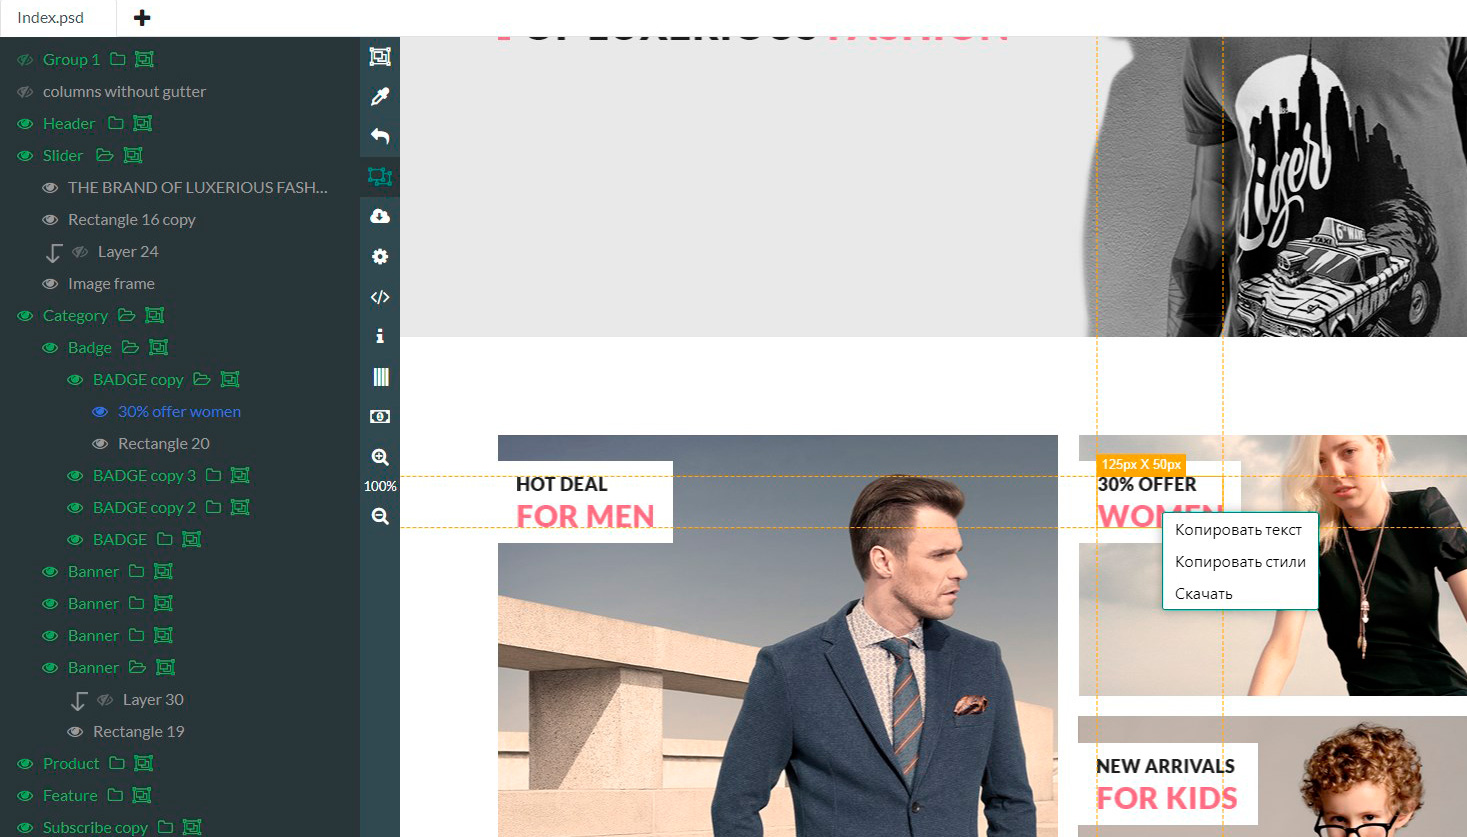
Список слоев
Слои и группы слоев можно скрывать, и самое главное- те слои, что были скрыты в Photoshop изначально, будут доступны, достаточно переключить их видимость.
Около группы слоев есть кнопка, при нажатии на которую будут выделены все дочерние слои.
При клике по слою в этом списке редактор центрируется на изображении этого слоя, что позволяет быстро определить его местоположение.
Экспорт изображений
Перейдя на вкладку скачивания изображений вы увидите две кнопки, обе они откроют окно экспорта изображений. Разница в том, что при клике по одной из них будет предложено - скачать изображения выделенных слоев, в то время как вторая предложит скачать изображения всех не текстовых слоев, что иногда бывает полезно.
Окно экспорта изображений
Основной элемент здесь это список изображений для экспорта.
Слева расположена миниатюра изображения, далее идет текстовое поле, в нем можно изменить название, с которым изображение будет сохранено. После названия идут поля выбора формата изображения (png, jpg и svg при наличии) и настройки качества, доступно только для jpg формата. Последним элементом идет чекбокс, который указывает на то, нужно ли экспортировать конкретный элемент.
Хочу отметит, что для слоев, в которых используется паттерн, будет отдельная строка с предложением - скачать его.
Над списком изображений есть элементы для группового редактирования. Воздействовать они будут лишь на те элементы у которых активна галочка для экспорта.
Первым идет редактор названия, позволяет называть однотипные элементы с нумерацией, например, если в нем написать "item_{d}", то слои будут названы item_1, item_2, item_3 и т.д. Для того чтобы изменить стартовое число, нужно написать "item_{d2}" или "item_{d8}", и нумерация будет начинаться с 2 или с 8, соответственно.
Далее удит настройки качества, выбор формата изображения и кнопки переключения активности слоев.
Внизу расположена кнопка "скачать", если изображение одно, то скачается сразу файл, если их несколько, будет скачан архив со всеми изображениями, из списка.
На самом верху есть кнопка "Сохранить в один файл", переключив ее можно скачать слои, объединив их в один файл, расположены они будут относительно друг друга как и на макете.

Настройки
Большое внимание я уделяю кастомизации редактора под нужды пользователей. И в этой вкладке как раз собраны все эти настройки.
- Язык приложения
- Формат стилей css или sass - отличаются наличием ";" в конце строки стиля
- Показывать дубли для стилей текста - используется в текстовых слоях, у которых есть текст с разными стилями. Попробуйте изменить значение и поймете в чем суть, на словах это сложно рассказать.
- Плавающее окно стилей - скрывает окно со стилями, которое появляется при клике по слою
- Всегда показывать расстояние - выше я рассказывал о линейках, показывающих расстояние до другого слоя, так вот, при включении этой настройки не нужно зажимать ctrl, они всегда будут отображаться
- Показывать размеры блока - настраивает, когда показывать размеры слоя в его верхнем левом углу. По умолчанию при наведении и выделении слоя
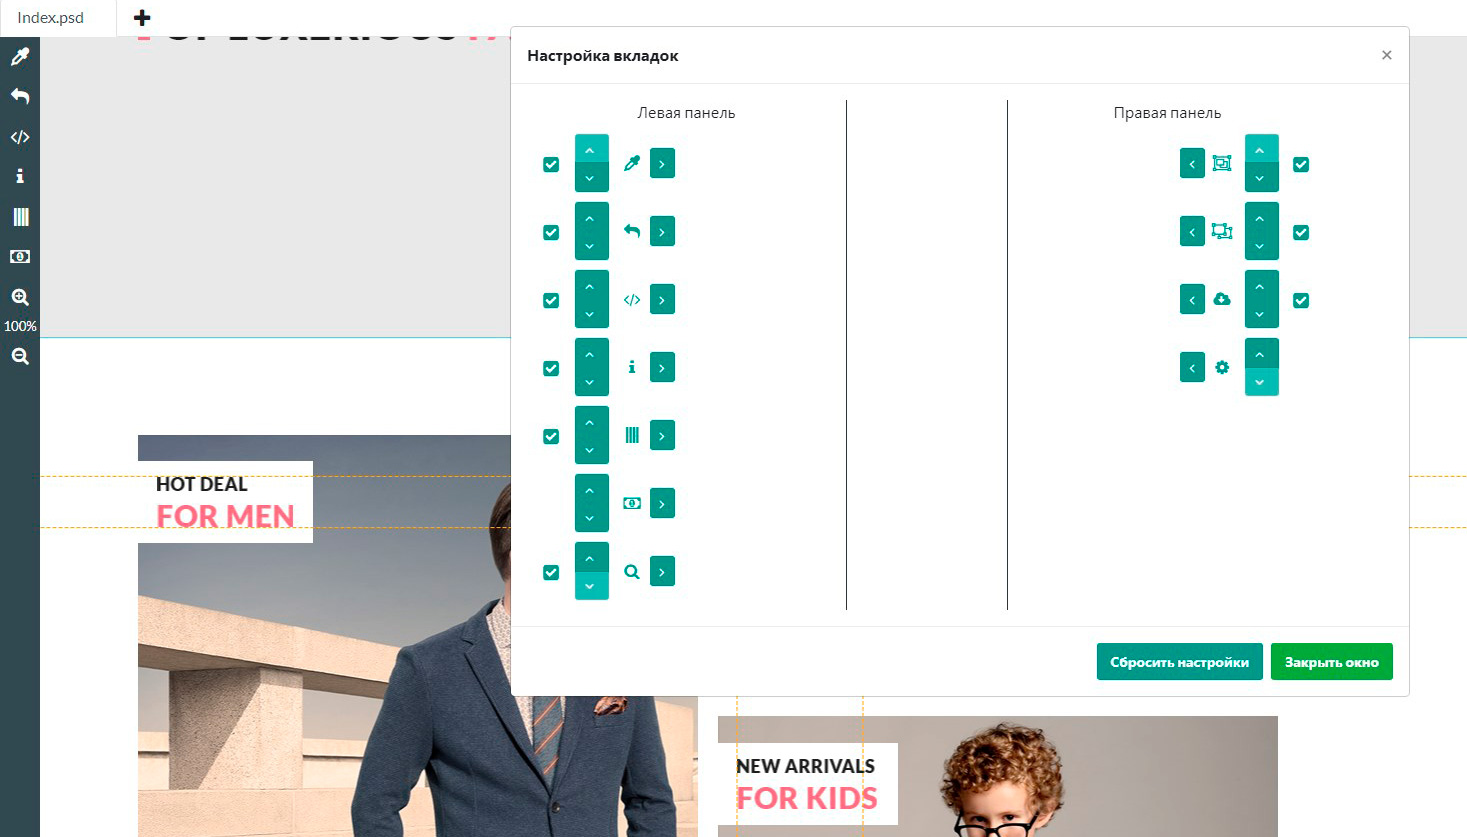
- Настроить расположение вкладок - тут можно изменить порядок инструментов в панели, перенести их на правую сторону или вовсе скрыть неиспользуемые
- Настроить горячие клавиши - для многих действий (копирование стилей, текстов, скачивание изображений) я добавил горячие клавиши, в этом разделе вы можете перенастроить их.
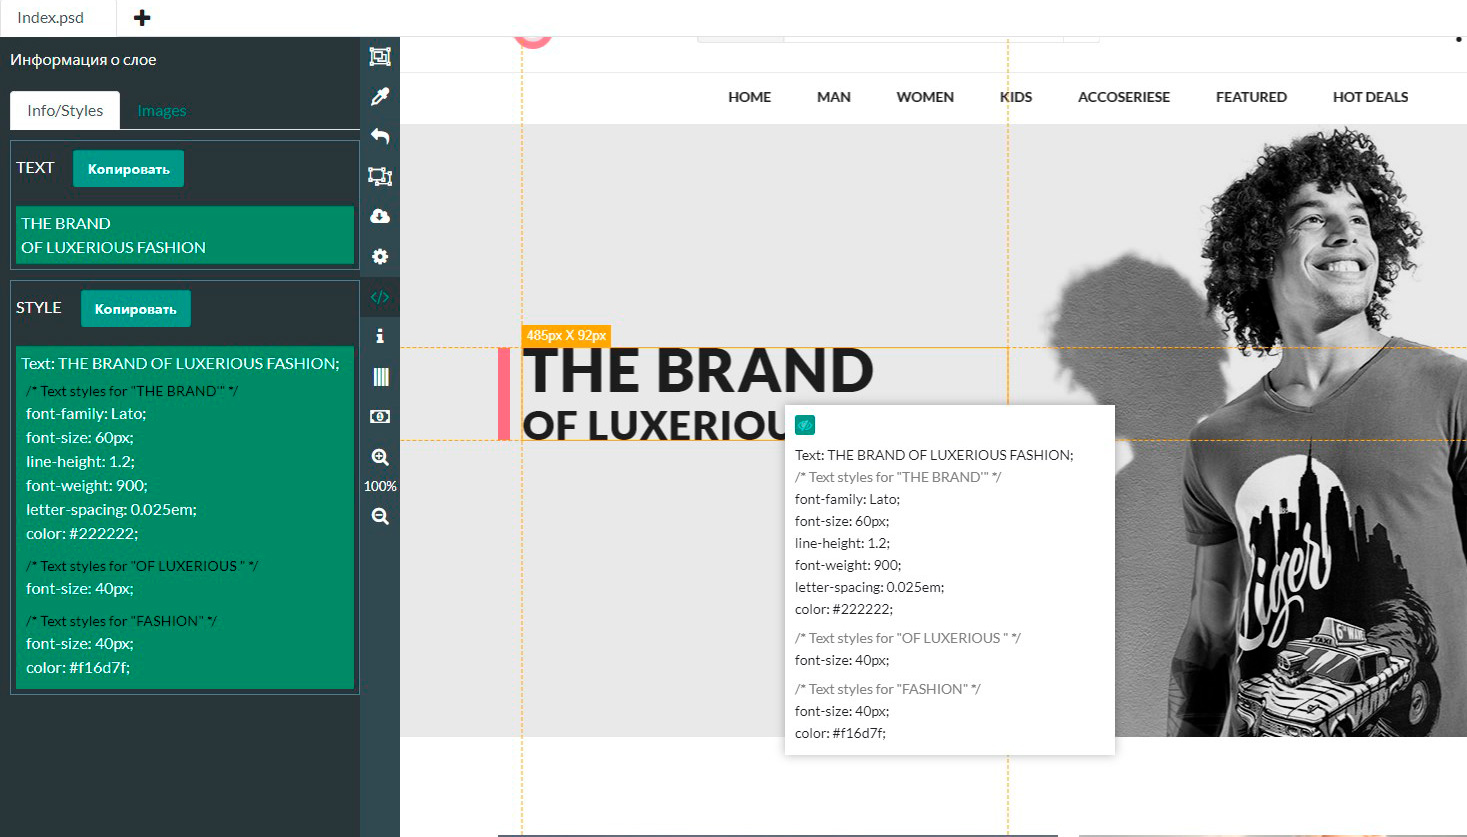
Информация о слое
Тут расположена полная информация о слое полный текст, стили, изображения, svg и base64 представления при наличии.
Информация о макете
На этой вкладке расположились данные всего макета: список цветов, используемых в нем и всех шрифтов макета.
Так же здесь есть блок настройки переменных, с их помощью можно заменять слова или строки на другие. Переменные действуют в рамках всего проекта, при удалении макета они останутся доступны внутри других макетов.
Панель масштабирования
Масштабировать макет можно как кнопками на панели, так и колесом мыши при зажатом ctrl и клавишами "+" и "-" на клавиатуре.
При клике на цифру масштаба, он сбрасывается на 100%